One of the key aspects of business management is handling vendors. In this comprehensive guide, we’ll explore how to delete a vendor in QuickBooks, edit, restore, and manage vendors in QuickBooks Online and QuickBooks Desktop. We’ll also discuss how to delete vendor payments and vendor credits.

- How to Delete Vendors in QuickBooks Online?
- How to Restore Deleted Vendors in QuickBooks Online?
- How to Edit Vendor Information in QuickBooks Online?
- Managing Vendor Payments and Credits in QuickBooks Online
- How to Delete Vendor Payments in QuickBooks Online?
- How to Delete Vendor Credits in QuickBooks?
- How to Edit Vendor Information in QuickBooks Desktop?
- How to Delete Vendors in QuickBooks Desktop?
- How to Restore Deleted Vendors in QuickBooks Desktop?
- Managing Vendor Payments and Credits in QuickBooks Desktop
How to Delete Vendors in QuickBooks Online?
In QuickBooks Online, you can’t permanently delete a vendor. However, you can make them inactive, which removes them from the list of active vendors. Here’s how:
- Access the Expenses section and select Vendors.
- Choose the vendor’s name you wish to delete.
- Click on the drop-down menu beside the Create Bill button
- Opt for Make Inactive.
- Confirm your action by clicking OK.
How to Restore Deleted Vendors in QuickBooks Online?
If you’ve made a vendor inactive, you can easily reactivate them by following these steps:
- Access the Expenses section and choose Vendors.
- Tap on the gear icon located in the top right corner of the vendor screen
- Pick Include inactive.
- Locate the inactive vendor you wish to reactivate.
- Pick on Make Active in the Action column.
How to Edit Vendor Information in QuickBooks Online?
To modify vendor details in QuickBooks Online, follow these steps:
- Proceed to the Expenditures menu.
- Pick Suppliers.
- Find the supplier you wish to revise and click on their name to access their profile.
- Pick the Amend option.
- Update the details.
- Tap on Save.
Managing Vendor Payments and Credits in QuickBooks Online
In this section, we’ll discuss how to delete vendor payments and vendor credits in QuickBooks Online.
How to Delete Vendor Payments in QuickBooks Online?
To delete a vendor payment, follow these steps:

- Access the Expenditures or Revenue menu.
- Look for the transaction you wish to delete or remove.
- In the Action column, select the drop-down menu and choose View/Edit.
- Enter the date and reason for deleting the transaction in the Message or Memo field.
- Save the changes.
- Tap on the Additional Options button below
- Pick Delete or Void.
- Confirm the action by selecting Yes.
How to Delete Vendor Credits in QuickBooks?
To delete a vendor credit, follow these steps:
- Navigate to the Expenditures section.
- Pick Vendors.
- Choose the name of the vendor and open the payment invoice linked to the credit.
- Within the Bill Payments screen.
- Uncheck the box for the vendor credit in the Credits section.
- Save and close the changes.
- Return to the Transaction List and pick Vendor Credit.
- On the Additional Options tab located below, tap on it.
- Select Delete.
- Confirm the deletion by clicking Yes
How to Edit Vendor Information in QuickBooks Desktop?
To modify vendor information in QuickBooks Desktop, follow these steps:
- Access the Vendor Center by going to the Vendors tab.
- Select the specific vendor you wish to modify.
- Click on the Edit Vendor button.
- Apply the required adjustments and click OK.
How to Delete Vendors in QuickBooks Desktop?
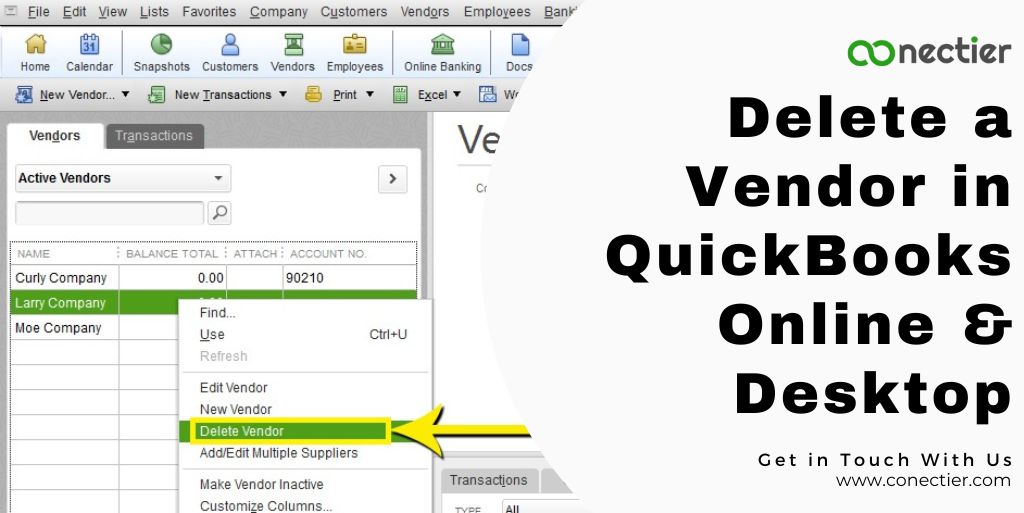
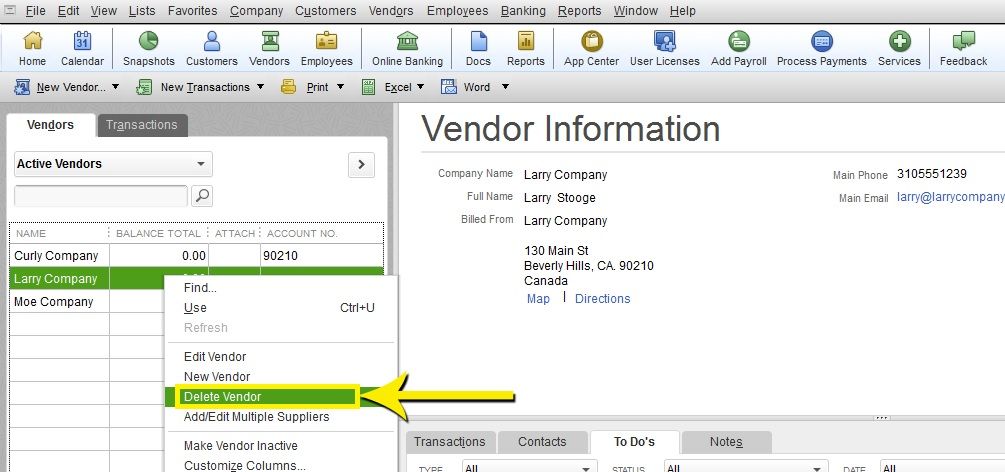
In QuickBooks Desktop, you can permanently delete a vendor and their associated transactions. Here’s how:
- Navigate to the Vendor Center by clicking on the Vendors tab.
- Choose the vendor you wish to remove.
- Click on the Delete Vendor button.
- Confirm your decision by clicking OK.
How to Restore Deleted Vendors in QuickBooks Desktop?
If you’ve deleted a vendor in QuickBooks Desktop, there isn’t a direct way to restore them. However, you can create a new vendor with the same details as the deleted one, and manually re-enter any associated transactions.
Managing Vendor Payments and Credits in QuickBooks Desktop
In this section, we’ll discuss how to delete vendor payments and vendor credits in QuickBooks Desktop.
How to Delete Vendor Payments in QuickBooks Desktop?
To delete a vendor payment in QuickBooks Desktop, follow these steps:
- Access the Chart of Accounts by selecting the Lists menu.
- Click twice on the Accounts Payable account to open the register.
- Click on the specific bill or bill payment check you wish to delete.
- Choose the Edit option.
- Select Void or Delete to eliminate the bill or bill payment check.
- Click on Record and then Yes to save the changes.
How to Delete Vendor Credits in QuickBooks Desktop?
Deleting vendor credits in QuickBooks Desktop follows the same process as deleting vendor payments. Just make sure to select the vendor credit transaction instead of the bill payment check in the Accounts Payable register.
Best Practices for Managing Vendors in QuickBooks
Here are some best practices for managing vendors in QuickBooks:
- Keep vendor information up-to-date: Regularly review and update vendor contact details, payment terms, and other relevant information.
- Use custom fields: Utilize custom fields to track unique information about vendors, such as contract expiration dates or preferred payment methods.
- Merge duplicate vendors: If you’ve accidentally created multiple records for the same vendor, merge them to avoid confusion and maintain accurate records.
- Attach relevant documents: Attach contracts, invoices, and other important documents to vendor profiles for easy reference.
- Use reports to analyze vendor performance: Generate reports to track vendor expenses, payment history, and other relevant data to evaluate their performance and make informed decisions.
By following the best practices and guidelines provided in this comprehensive guide, you’ll be able to efficiently understand how to delete a vendor in QuickBooks, edit, and restore them in both QuickBooks Online and QuickBooks Desktop. Additionally, you’ll be able to manage vendor payments and credits with ease. Keep your vendor records up-to-date and organized, and you’ll be well on your way to maintaining a healthy and thriving business.
Frequently Asked Questions
Yes, you need to go to the vendor’s section. Click on the Vendors drop-list menu and select all vendors. Click twice the name and make them inactive.
QuickBooks doesn’t allow you to remove a vendor, but you can make them inactive.
You can’t permanently delete a vendor in QuickBooks. However, you can make them inactive.
In QuickBooks Online, go to the Expenses or Vendors tab, select the vendors you want to delete and choose “Make inactive” from the options.
To mass delete vendors in QuickBooks, switch to Single-user mode.

