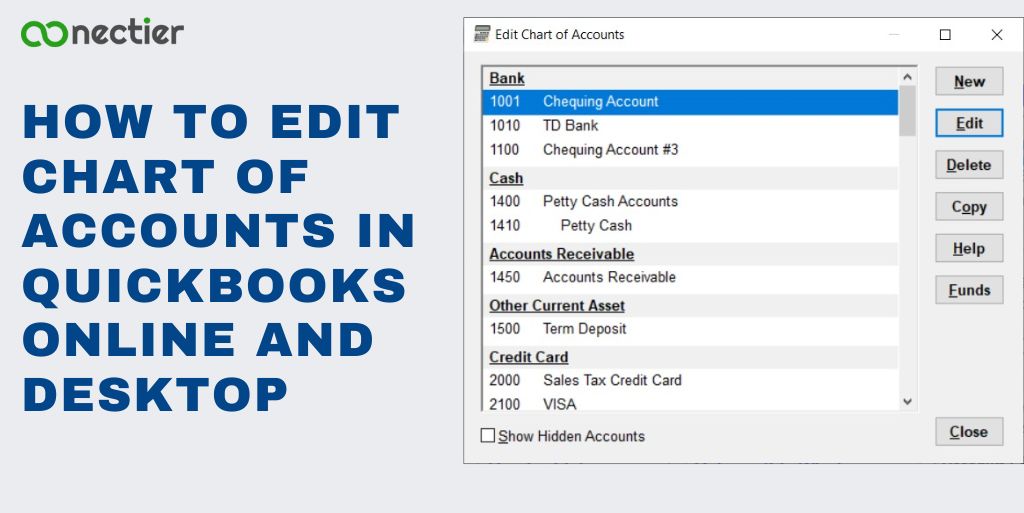
One of the important features of QuickBooks is its ability to allow users to edit the chart of accounts. In this blog, we will take you through the steps on how to edit chart of accounts in QuickBooks online and on Desktop which allows users to customize their financial reporting to fit the specific needs of their business.

1. What is the Chart of Accounts in QuickBooks?
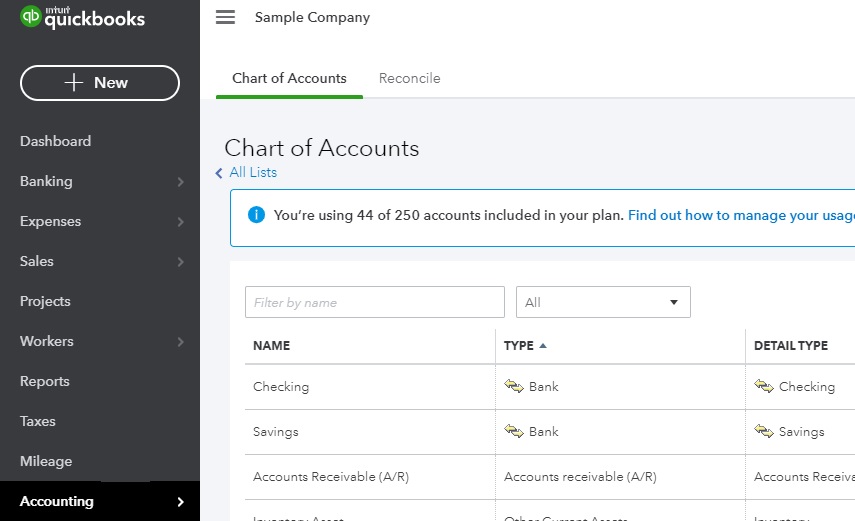
The chart of accounts is a comprehensive register of all the accounts and their corresponding balances held by a company. Within QuickBooks Online, this register is used to categorize and structure the company’s assets, liabilities, income, and expenses.
By referring to the Chart of Accounts, it is possible to determine the company’s available funds, outstanding debts, as well as the inflow and outflow of funds.
2. How to Edit Chart of Accounts in QuickBooks Online?
Editing the charts of accounts in QuickBooks is fairly simple. This allows you to either add or make accounts inactive. If you wish to know how to edit a chart of accounts in QuickBooks online follow the process below.

2.1 To edit an account:
- Navigate to Bookkeeping > Chart of Accounts.
- Look for the account.
- Tap the edit button.
- Make desired changes and Tap Save.
2.2 To edit an account’s history:
- Navigate to Bookkeeping > Chart of Accounts.
- Look for the account.
- Tap Account history.
- Pick the transaction to edit.
- Make changes and click Delete, Edit, Cancel, or Save.
2.3 To delete an account
You can make an account inactive as when you edit charts of accounts in QuickBooks Online, it does delete them.
- Navigate to Settings and pick Chart of Accounts.
- Pick the account you want to delete.
- Tap on the Action dropdown and pick to make inactive.
2.4 To hide multiple accounts:
- Pick all accounts you want to hide.
- Tap on the Batch actions dropdown and pick Make inactive.
You can refer to our blog on how to add a chart of accounts in QuickBooks if you are adding a new account.
3. How to Edit Chart of Accounts in QuickBooks Desktop?
Learn the process of how to edit chart of accounts in QuickBooks Desktop for Windows.
3.1 To update account
- Tap on the Lists menu and pick Chart of Accounts.
- Right-click on the account you want to edit.
- Pick Edit Account.
- Make changes to the account details.
- Tap Save and exit
3.2 To delete an account in QuickBooks:
- Tap on the Lists menu and pick Chart of Accounts.
- Right-click on the account you want to delete.
- Pick Delete Account, then tap OK.
Note: To delete an account in QuickBooks, ensure it has no subaccounts and is unused. Otherwise, make it inactive.
3.3 Make an account inactive and active again
- Tap on the Lists menu and pick Chart of Accounts.
- Right-click on the account you want to make inactive and select Edit Account.
- Check the “Account is inactive” checkbox.
- Tap Save and exit.
3.4 To make the account active again,
- Navigate to the Lists menu,
- Pick a Chart of Accounts, and check the “Include inactive” checkbox.
- Right-click on the inactive account and Pick Edit Account.
- Uncheck the “Account is inactive” checkbox.
- Tap Save and Close.
Hope the above-given steps have helped you on how to edit the chart of accounts in QuickBooks online and desktop. Now you can edit your financial information with ease.
Frequently Asked Questions
Locate the account you want to edit, select Account History, and choose Edit. Make changes and save.
Click the gear icon, select Chart of Accounts, and edit existing accounts or add new ones.
QuickBooks automatically sets up a chart of accounts, but you can add or remove accounts as needed.
Go to the Settings/Gear icon and select Chart of Accounts, then include inactive accounts.
Make the account inactive, then delete it from the Chart of Accounts page.
Click on the gear icon, select Chart of Accounts, find the account to delete, and choose “Delete” from the Action dropdown.
The chart of accounts lists all company accounts and balances, tracks funds and debts, and allows you to view transaction histories and run reports.
Navigate to the Chart of Accounts, pick the account to merge, choose “Edit” from the Action dropdown, and enter the name of the account to merge into it.
Navigate to the Chart of Accounts, pick the Export icon, and pick the file format and location to save the export file.

